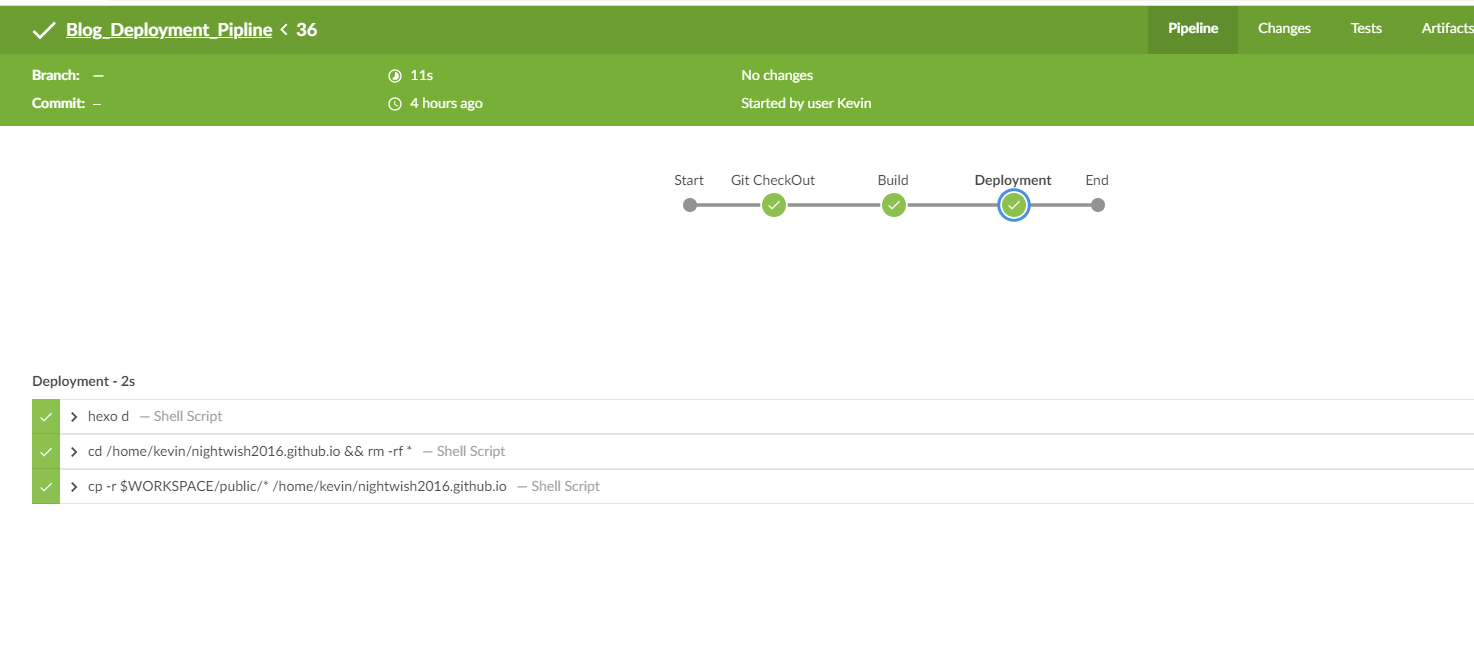
步骤:
创建一个Jenkins Pipeline project:

创建Pipeline script:
1
2
3
4
5
6
7
8
9
10
11
12
13
14
15
16
17
18
19
20
21
22
23
24
25
26
27
28
29
30
31
32
pipeline {
agent any
stages {
stage('Git CheckOut') {
steps {
git 'git@github.com:nightwish2016/HexoBlog.git'
//git credentialsId: '608dd5f7-630f-4449-ab75-c51987f3391e', url: 'git@github.com:nightwish2016/HexoBlog.git'
}
}
stage('Build') {
steps {
//sh label: '', script: 'npm install hexo --save'
//sh label: '', script: 'hexo clean'
sh label: '', script: 'hexo g'
}
}
stage('Deployment') {
steps {
// sh label: '', script: 'npm install hexo-deployer-git --save'
sh label: '', script: 'hexo d' //deploy to github
sh label: '', script: 'cd /home/kevin/nightwish2016.github.io && rm -rf *'
sh label: '', script: 'cp -r $WORKSPACE/public/* /home/kevin/nightwish2016.github.io' //deploy to Ubutun VM on azure
}
}
}
}
- 运行 job:
